Quick Start Guide
Get up and running with Asset Optics in minutes. This guide walks you through authentication, creating your first project, and understanding the basic workflow.
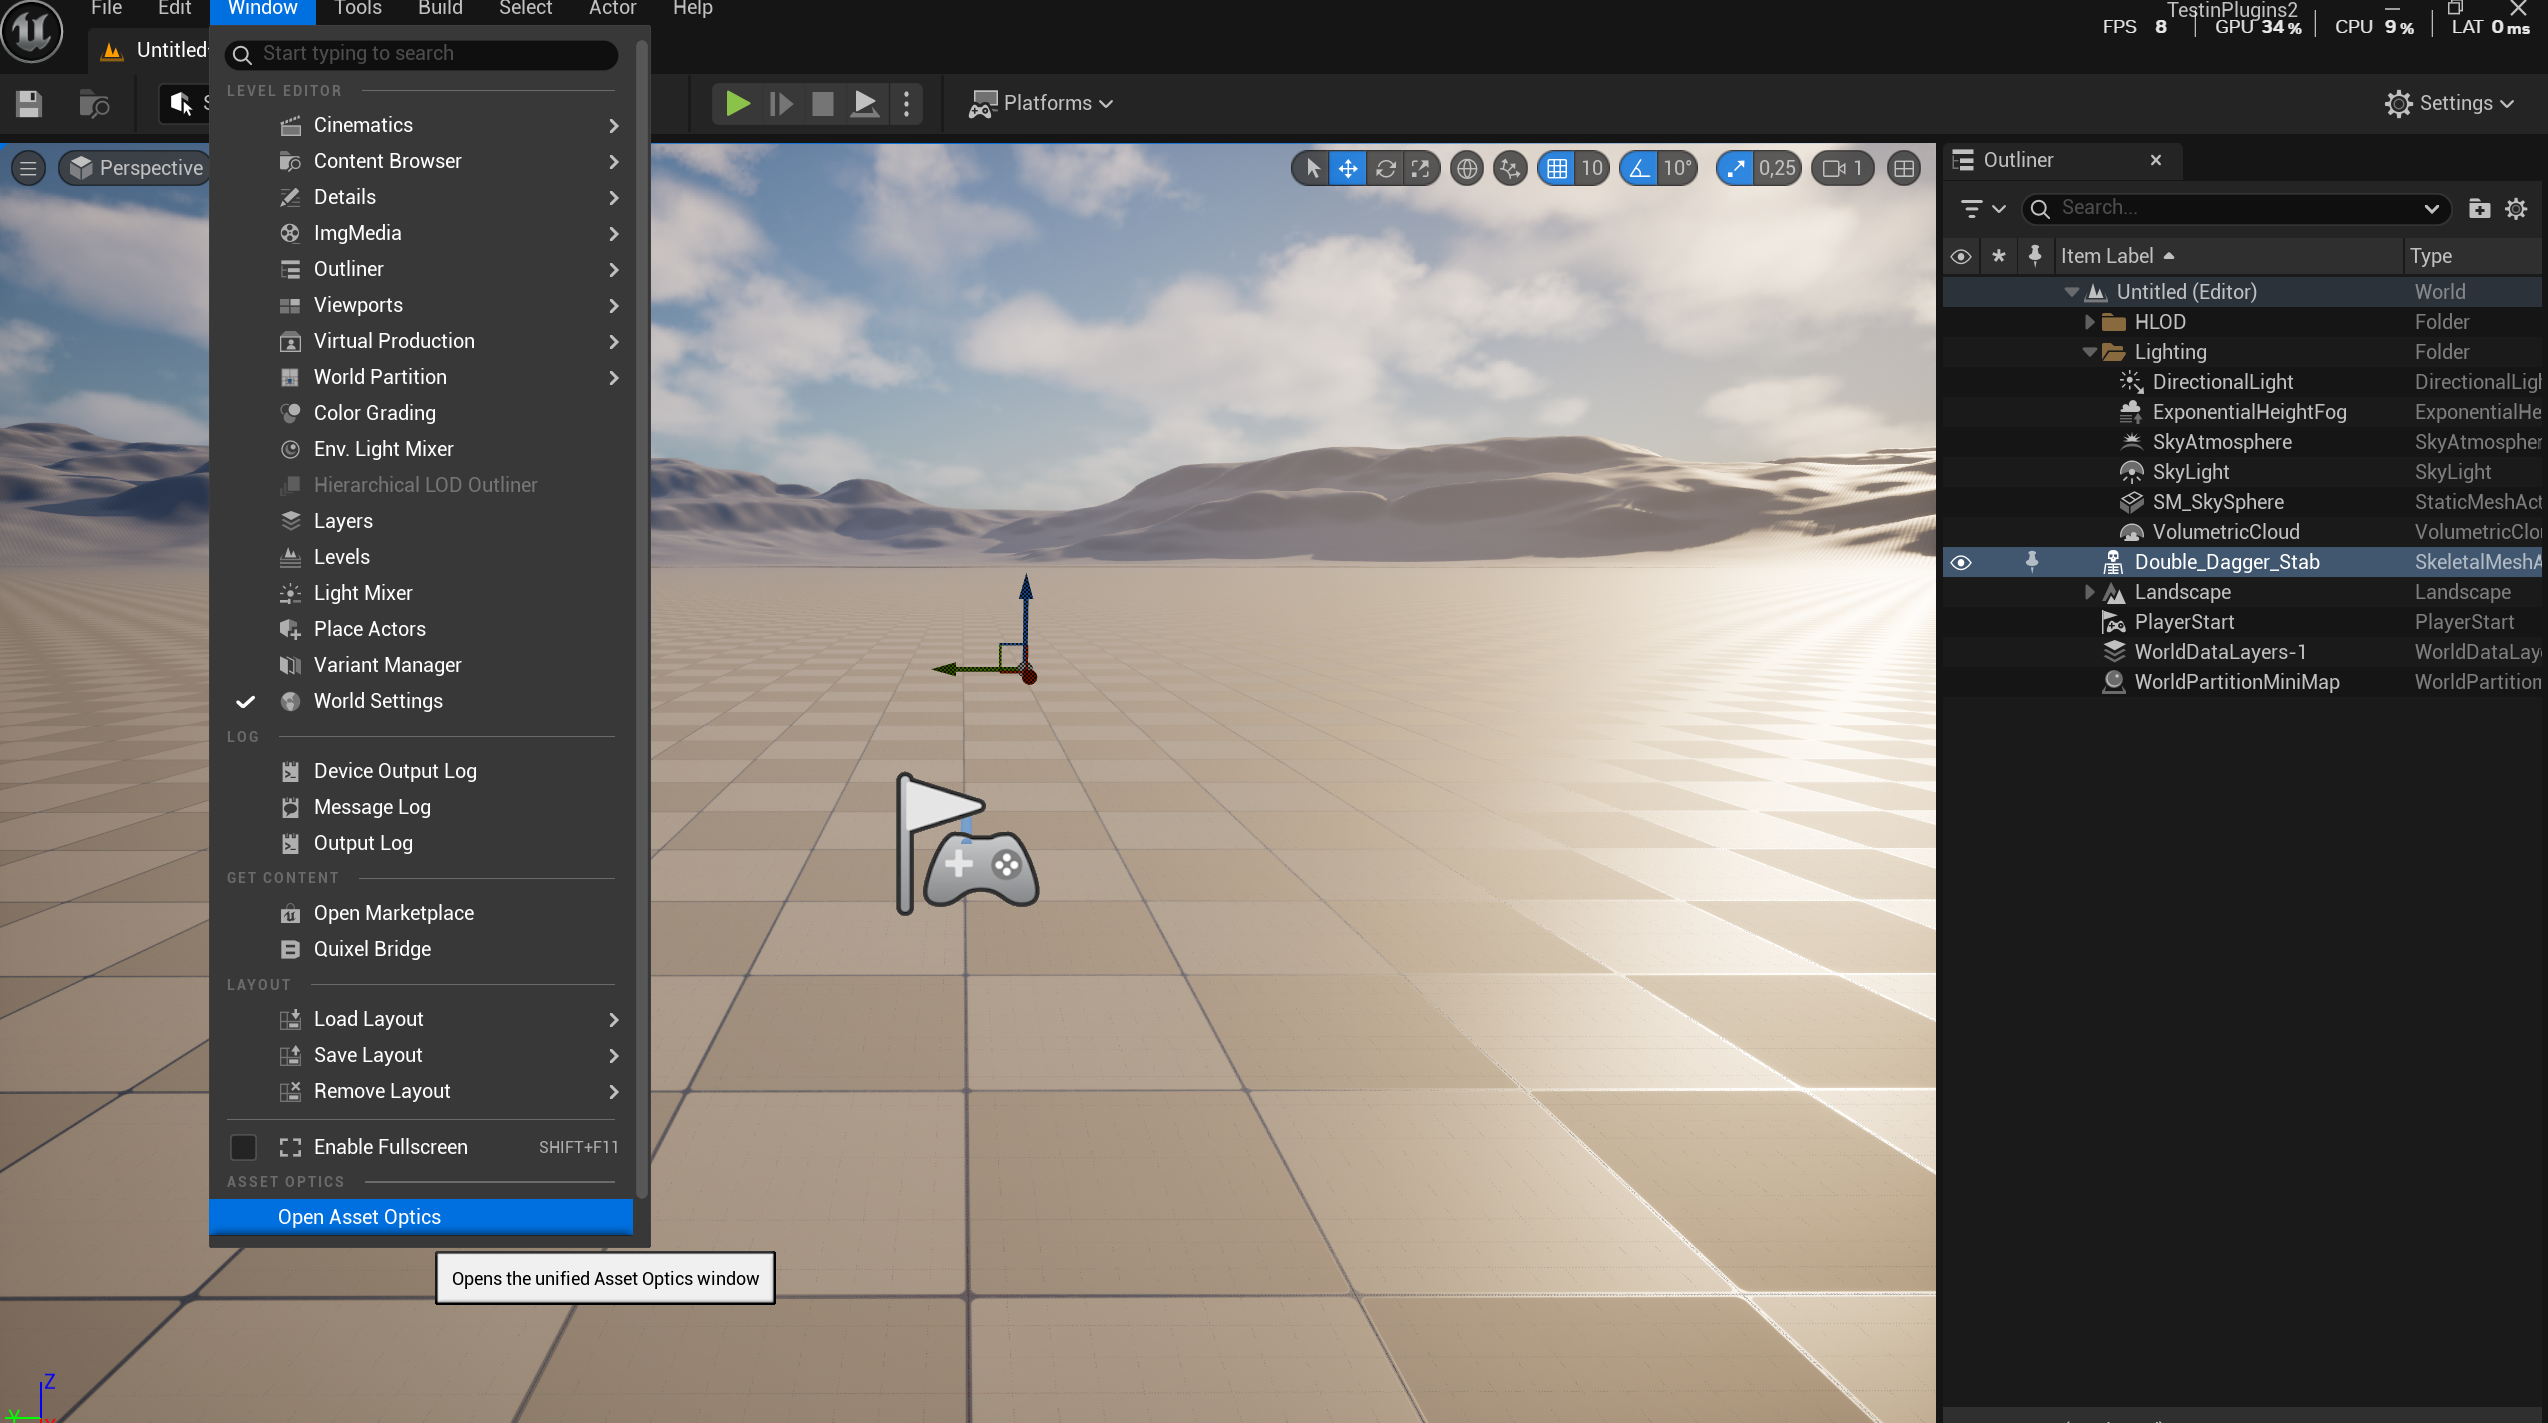
Step 1: Open Asset Optics
After installing the plugin:
- Open your Unreal Engine project
- Look for Asset Optics in the main toolbar
- Click the Asset Optics button to open the panel
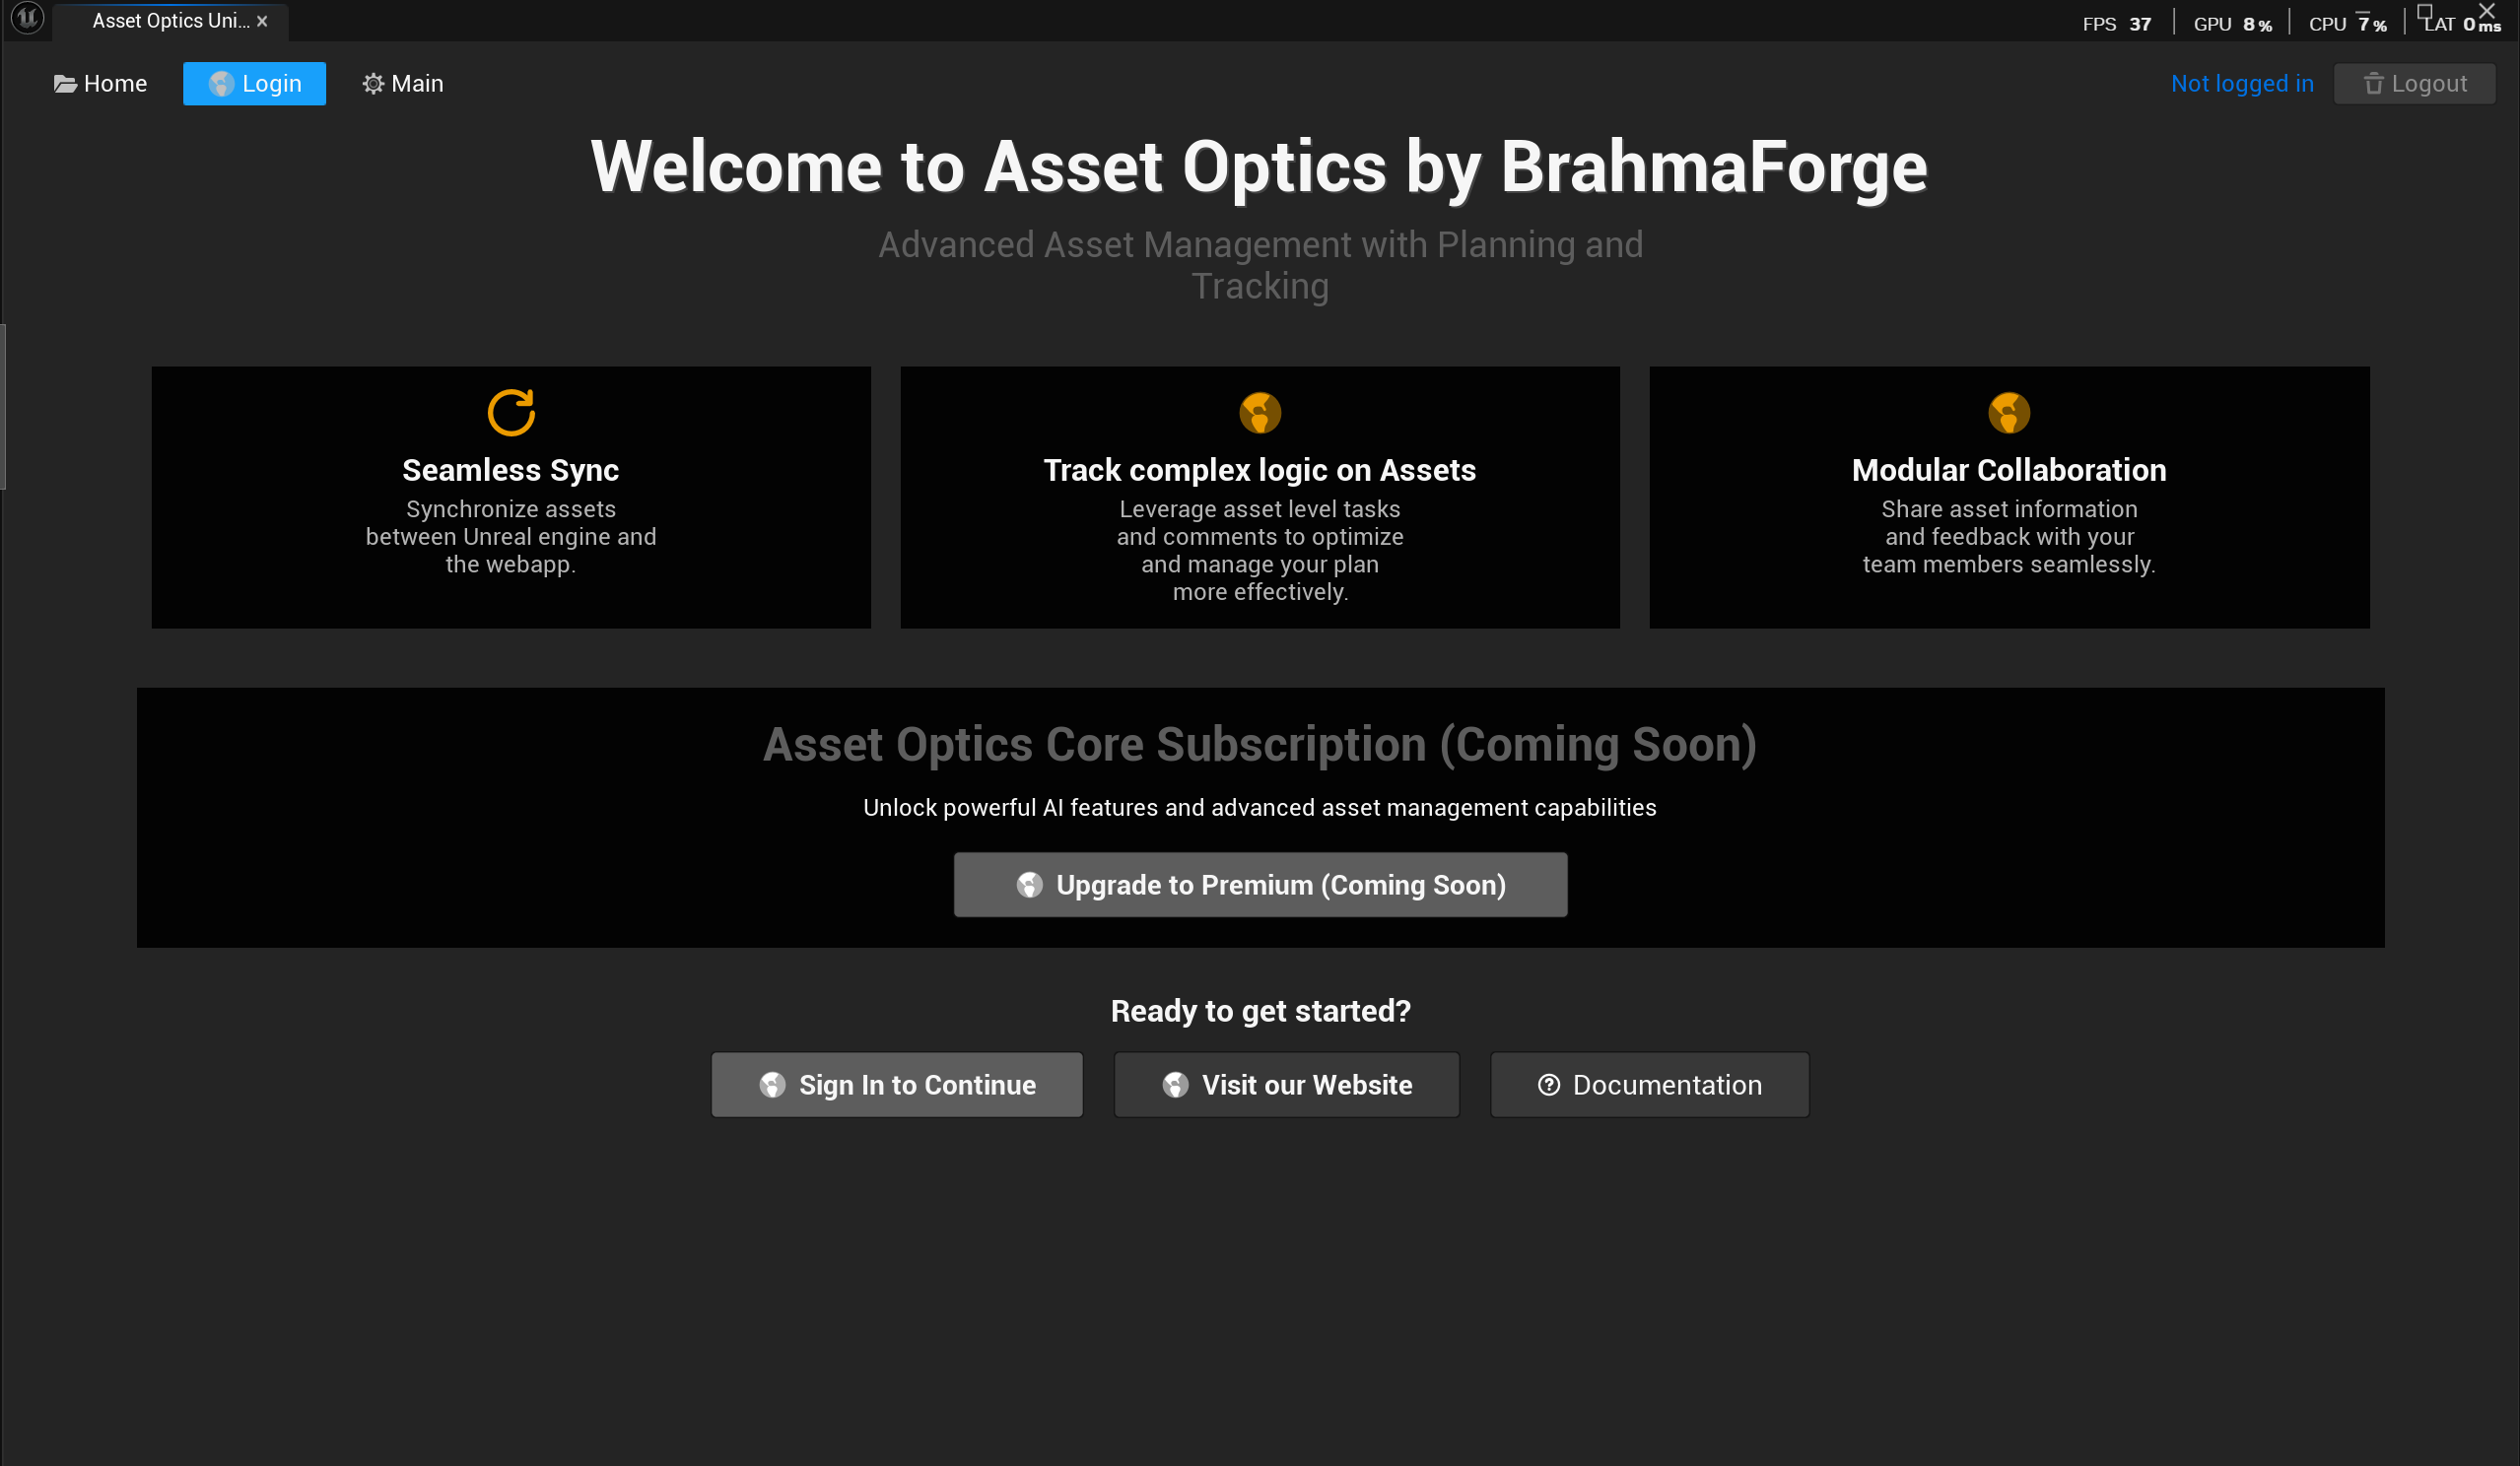
Step 2: Authenticate
Asset Optics uses secure device code authentication:
- Click Get Started in the welcome screen
- A unique code will be displayed (e.g.,
ABCD-1234) - Click the link or scan the QR code
- Enter the code on the web page
- Sign in with your Google account
- Return to Unreal Engine - you're now logged in!
Session Persistence
Your session persists across editor restarts. Token refresh happens automatically.
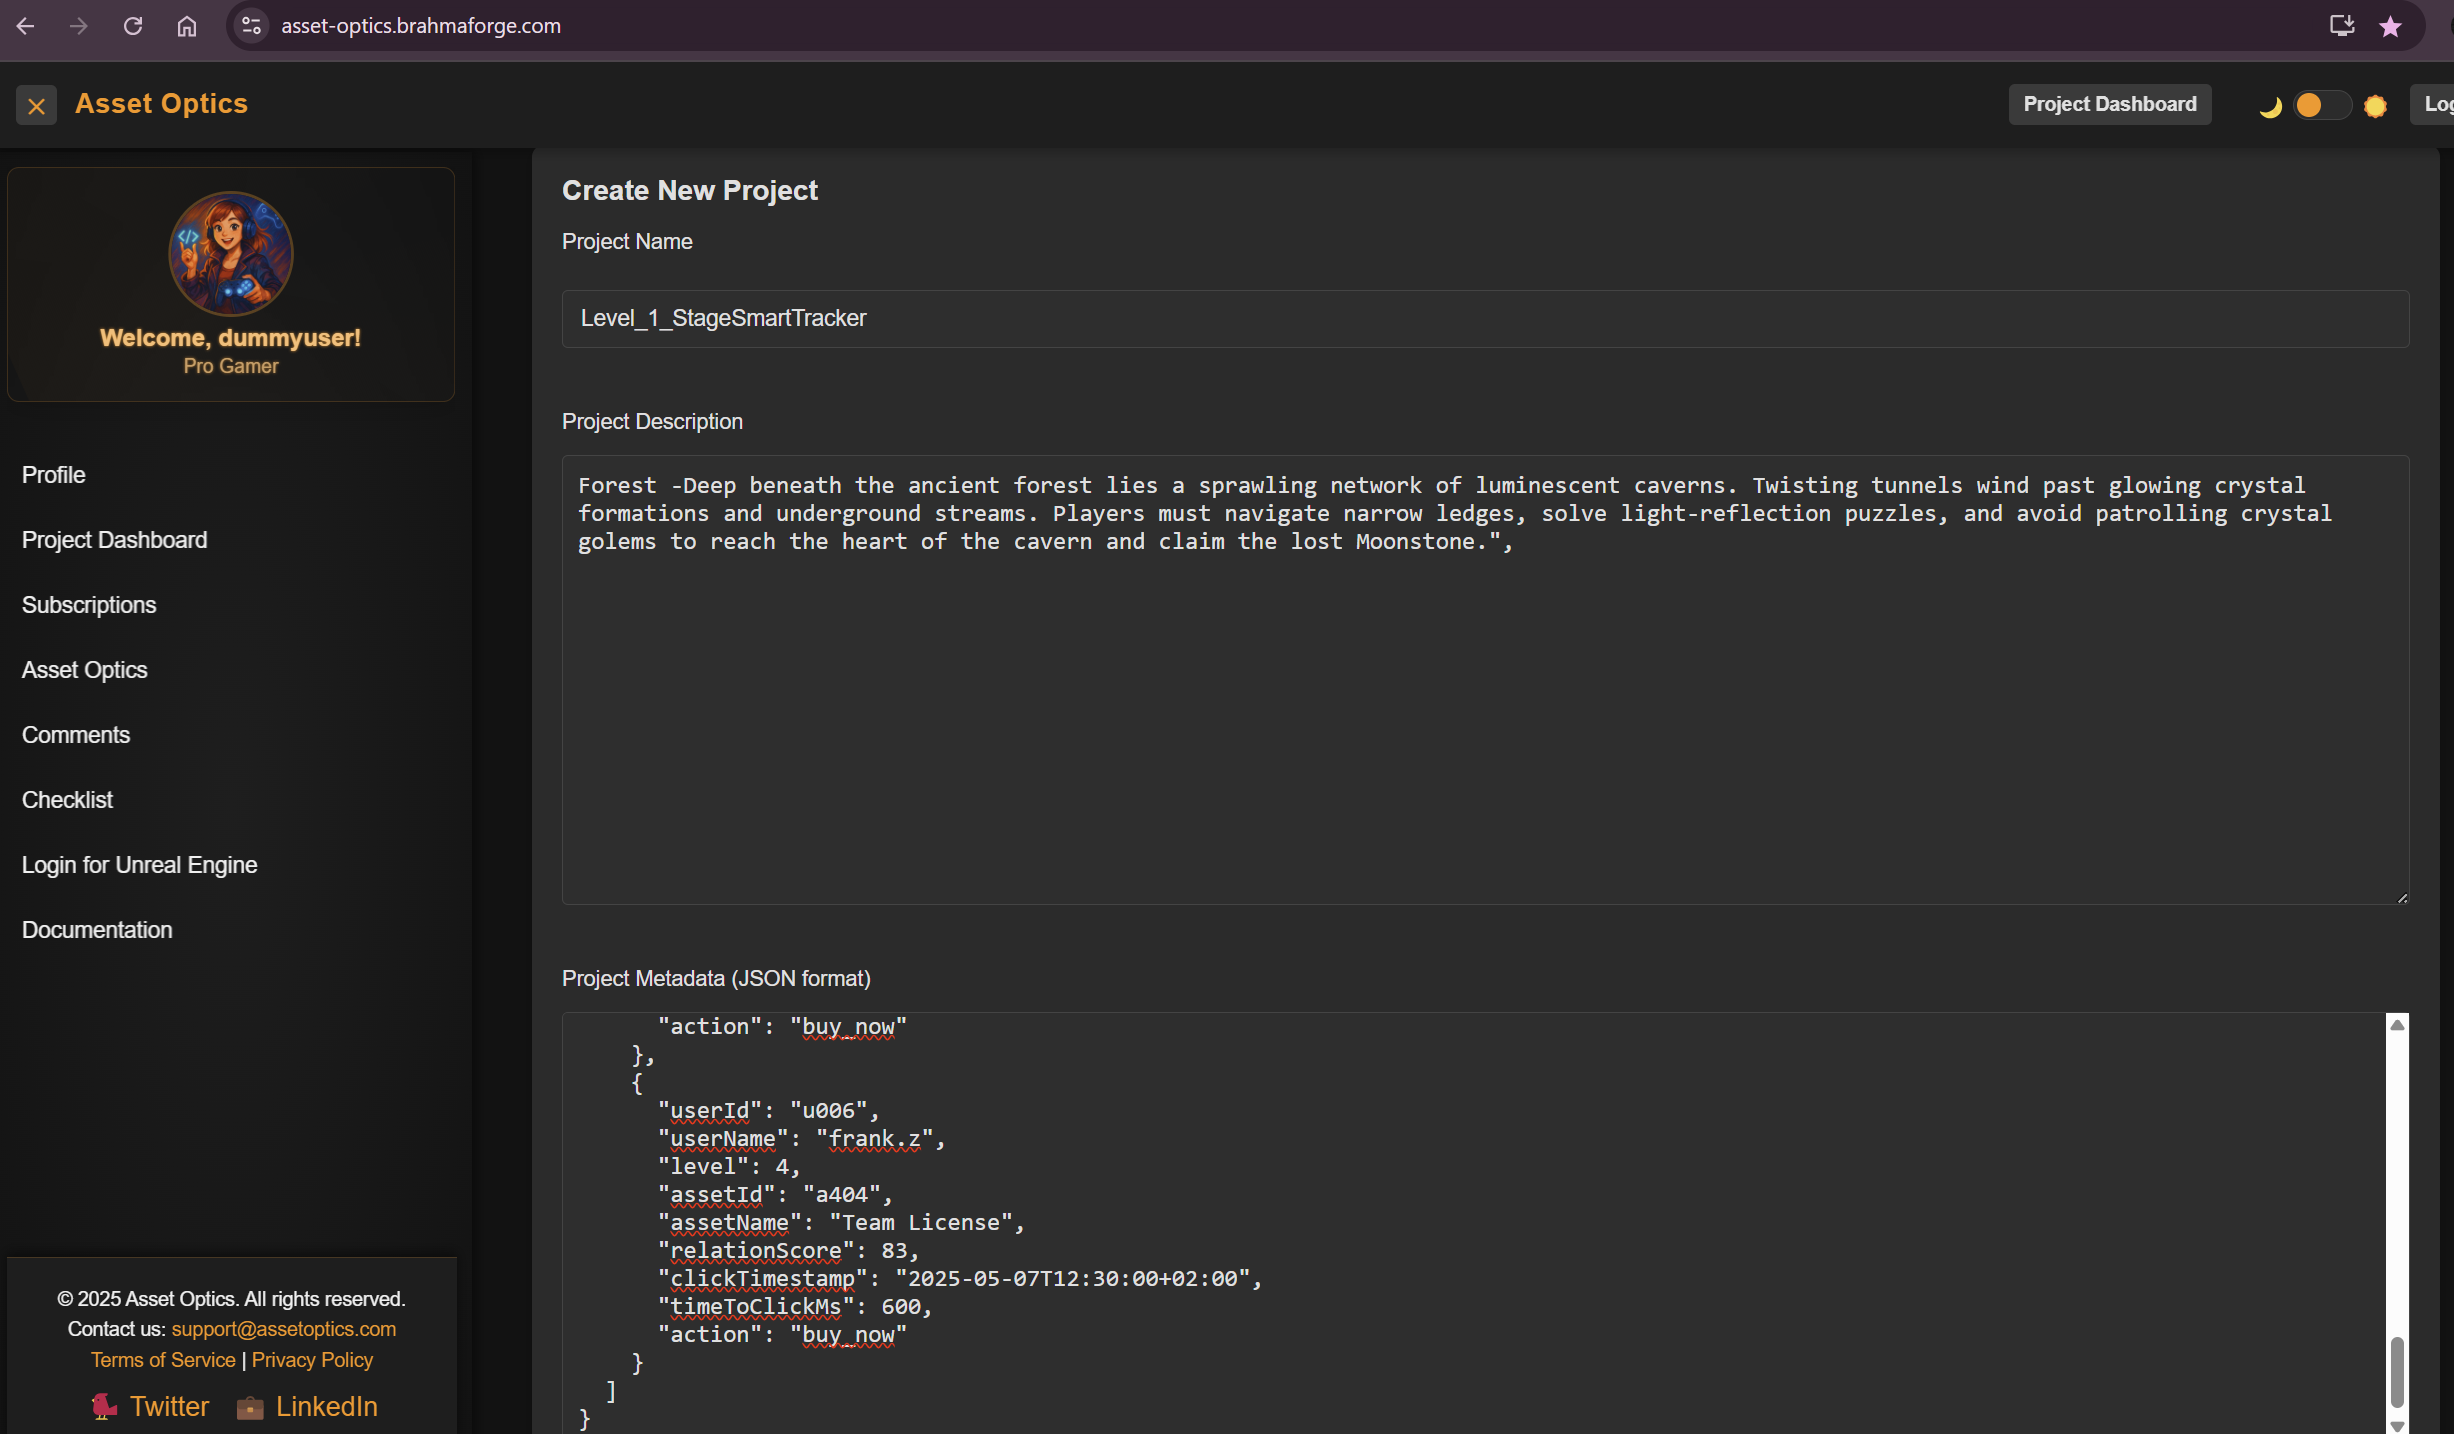
Step 3: Create Your First Project
- After authentication, you'll see the project selection screen
- Click Create New Project
- Enter a project name (e.g., "My Platformer Game")
- Click Create
Project Scope
One project can represent your entire game, or you can create separate projects for different scopes like POC, vertical slice, or feature prototypes.
Step 4: Set Up Milestones
Milestones are major phases in your production schedule:
- Go to the Planning tab
- Click Manage Milestones
- Click New Milestone
- Fill in the details:
- Title: e.g., "Alpha", "Beta", "Release"
- Due Date: Target completion date
- State: Planned, Active, or Completed
- Click Save
Example milestone structure:
├── Prototype (2 weeks)
├── Vertical Slice (6 weeks)
├── Alpha (3 months)
├── Beta (4 months)
└── Release (5 months)
Step 5: Add Tasks
- In the Planning Board, click + Add Task
- Fill in the task details:
- Title: Brief description of the work
- Description: Detailed information (optional)
- Milestone: Which milestone this belongs to
- Priority: Low, Medium, High, or Urgent
- Click Create
Tasks flow through four Kanban columns:
| Column | Purpose |
|---|---|
| Todo | Tasks ready to start |
| In Progress | Currently being worked on |
| Blocked | Stuck on dependencies or issues |
| Done | Completed tasks |
Drag and drop cards between columns to update status.
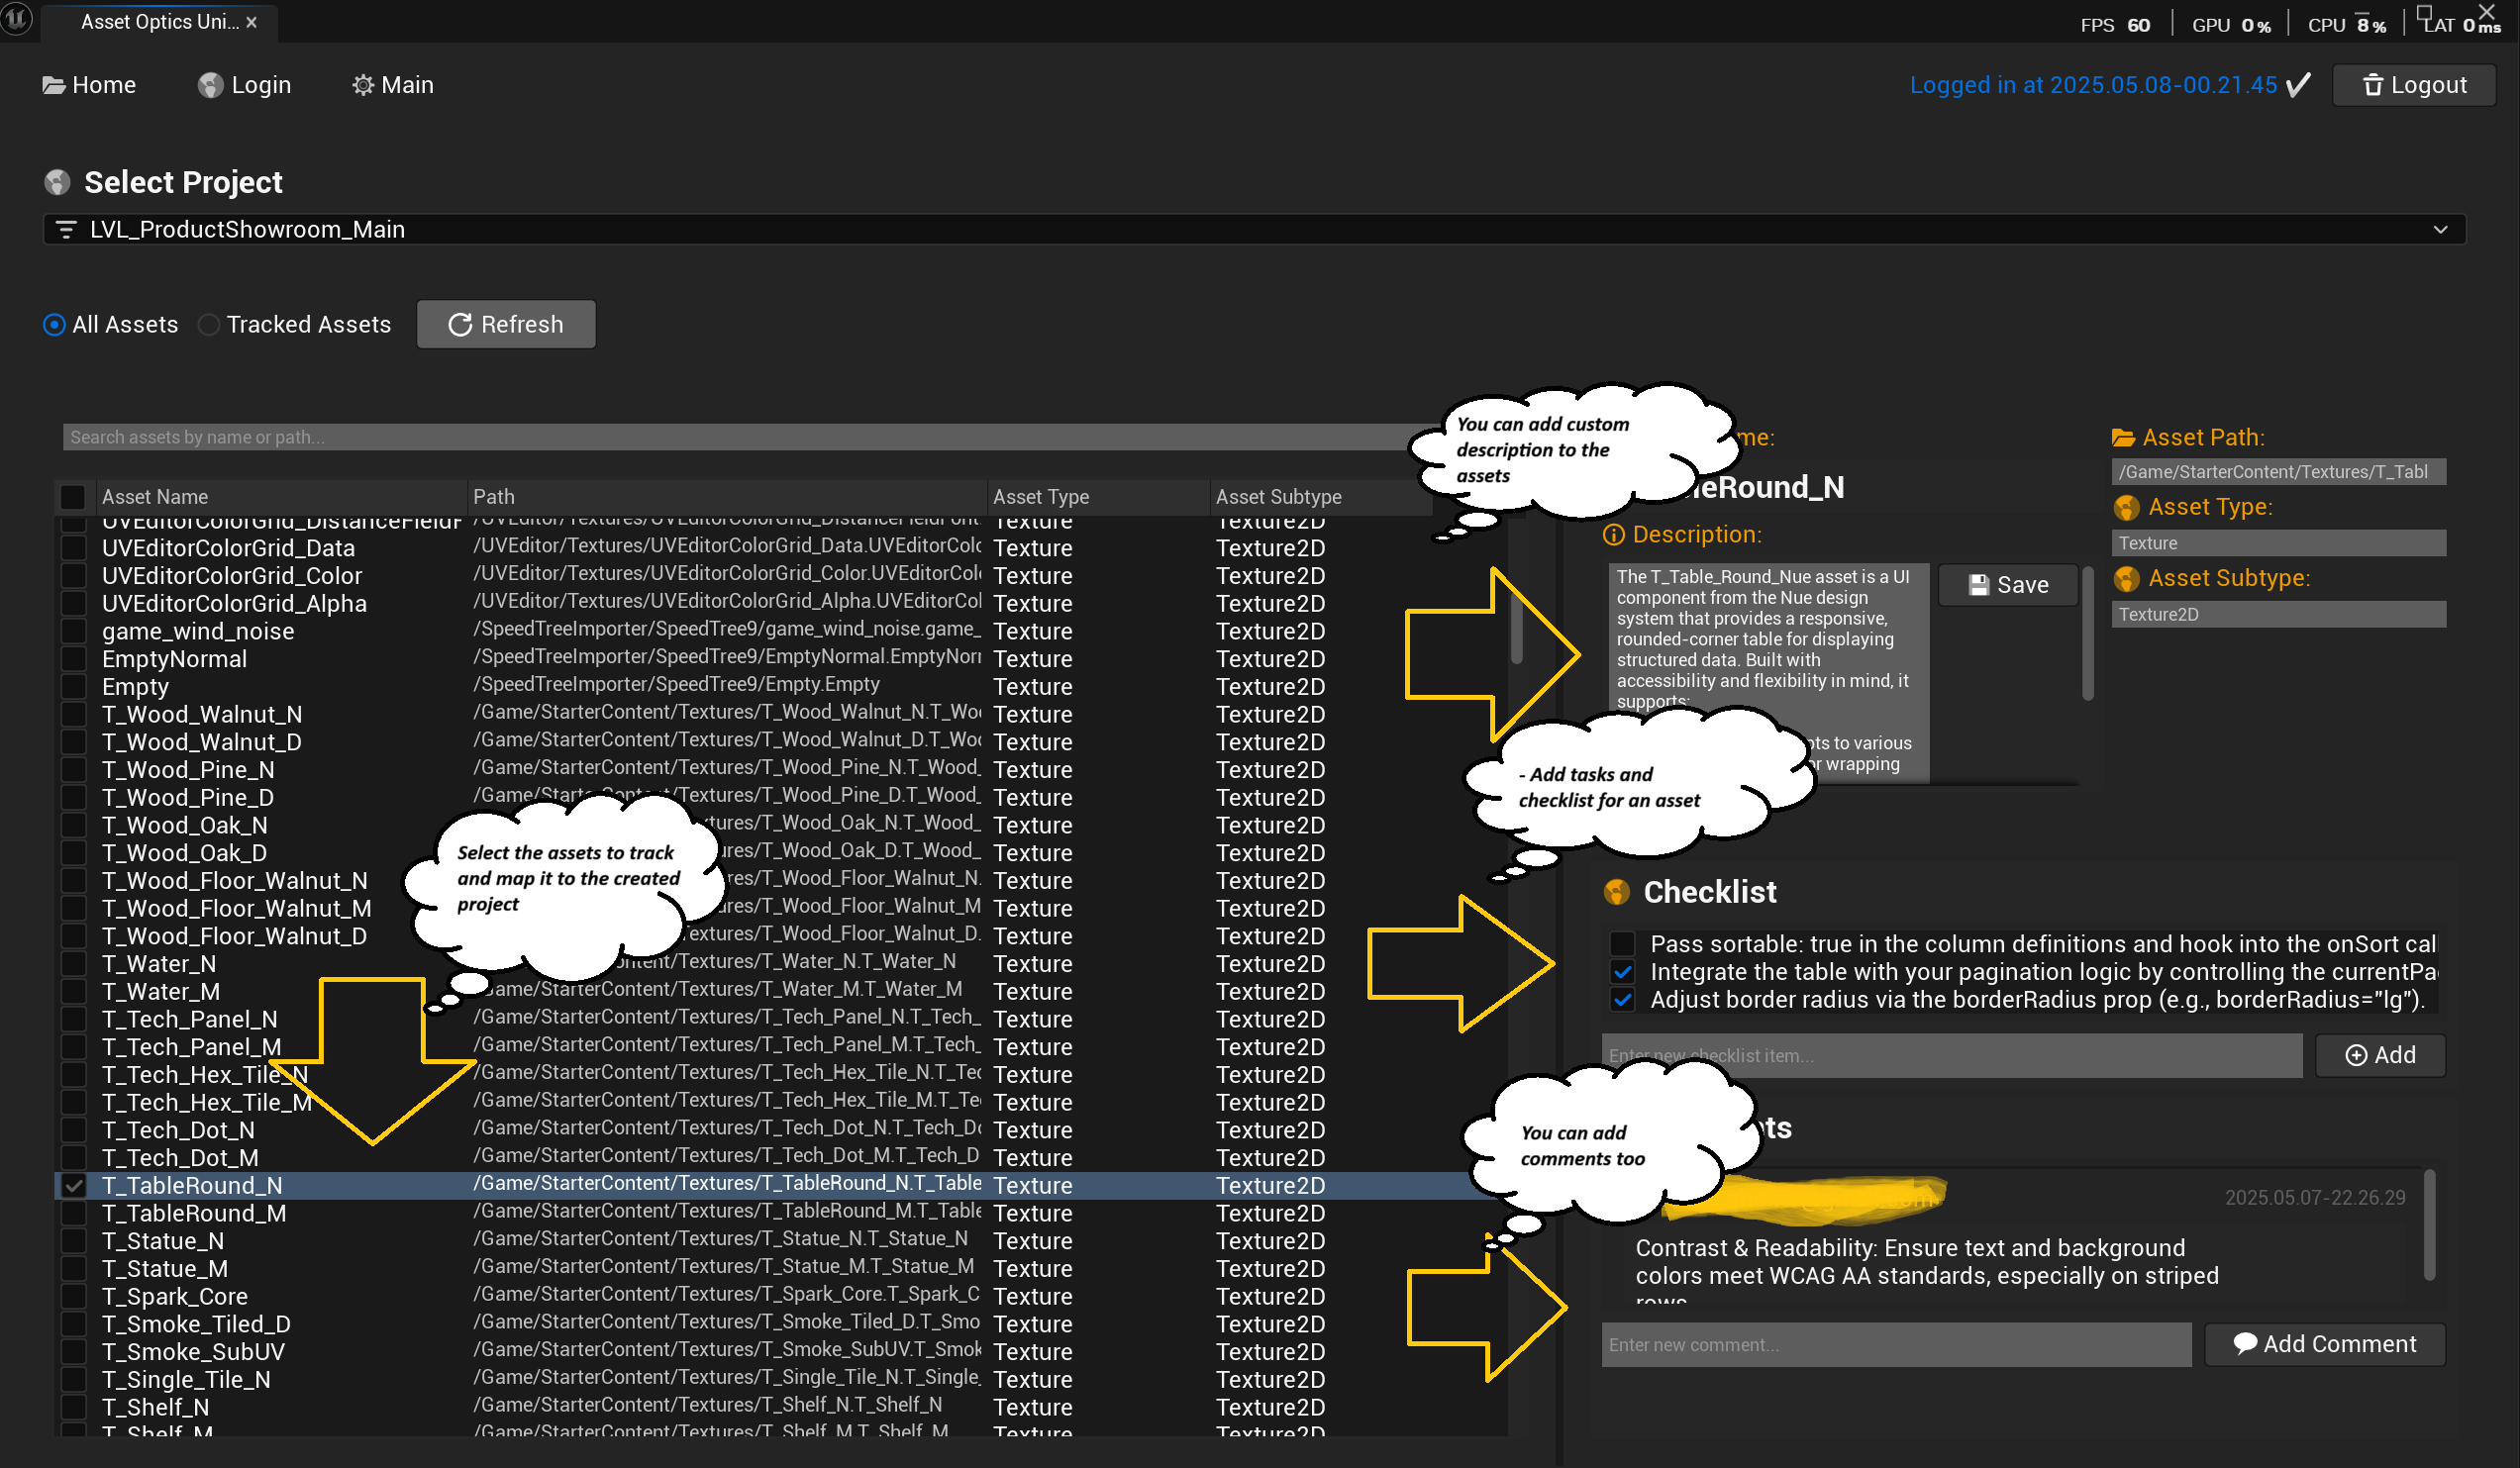
Step 6: Link Assets
Connect your Unreal Engine assets to tasks:
- Go to the Assets tab
- Your Unreal assets are automatically synced
- Click an asset to see details
- Click Link to Task to connect it to a task
Or from a task:
- Open a task
- Go to the Linked Assets section
- Click Add Asset
- Search and select assets to link
Step 7: Use Focus Mode
The Focus tab uses smart prioritization to tell you what to work on next:
- Go to the Focus tab
- Tasks are organized into three categories:
| Category | What It Means |
|---|---|
| Now | Work on these immediately (top priorities) |
| Next | Coming up soon |
| Later | Lower priority, future work |
The top task displays as a "Hero Card" with expanded details.
What's Next?
Now that you have the basics:
- Explore the Planning Board for advanced task management
- Learn Focus Mode in depth
- Set up AI Integration to automate your workflow
- Use the Web Dashboard for browser-based management
Quick Reference
Keyboard Shortcuts
| Shortcut | Action |
|---|---|
Ctrl+R / Cmd+R |
Refresh current view |
| Triple-click refresh | Force hard refresh (clear cache) |
Navigation Tabs
| Tab | Purpose |
|---|---|
| Dashboard | Project overview and quick stats |
| Planning | Kanban board and task management |
| Assets | Content Browser integration |
| Focus | Smart prioritization |
| Account | Login status and MCP connection |
© 2026 BrahmaForge. All rights reserved.